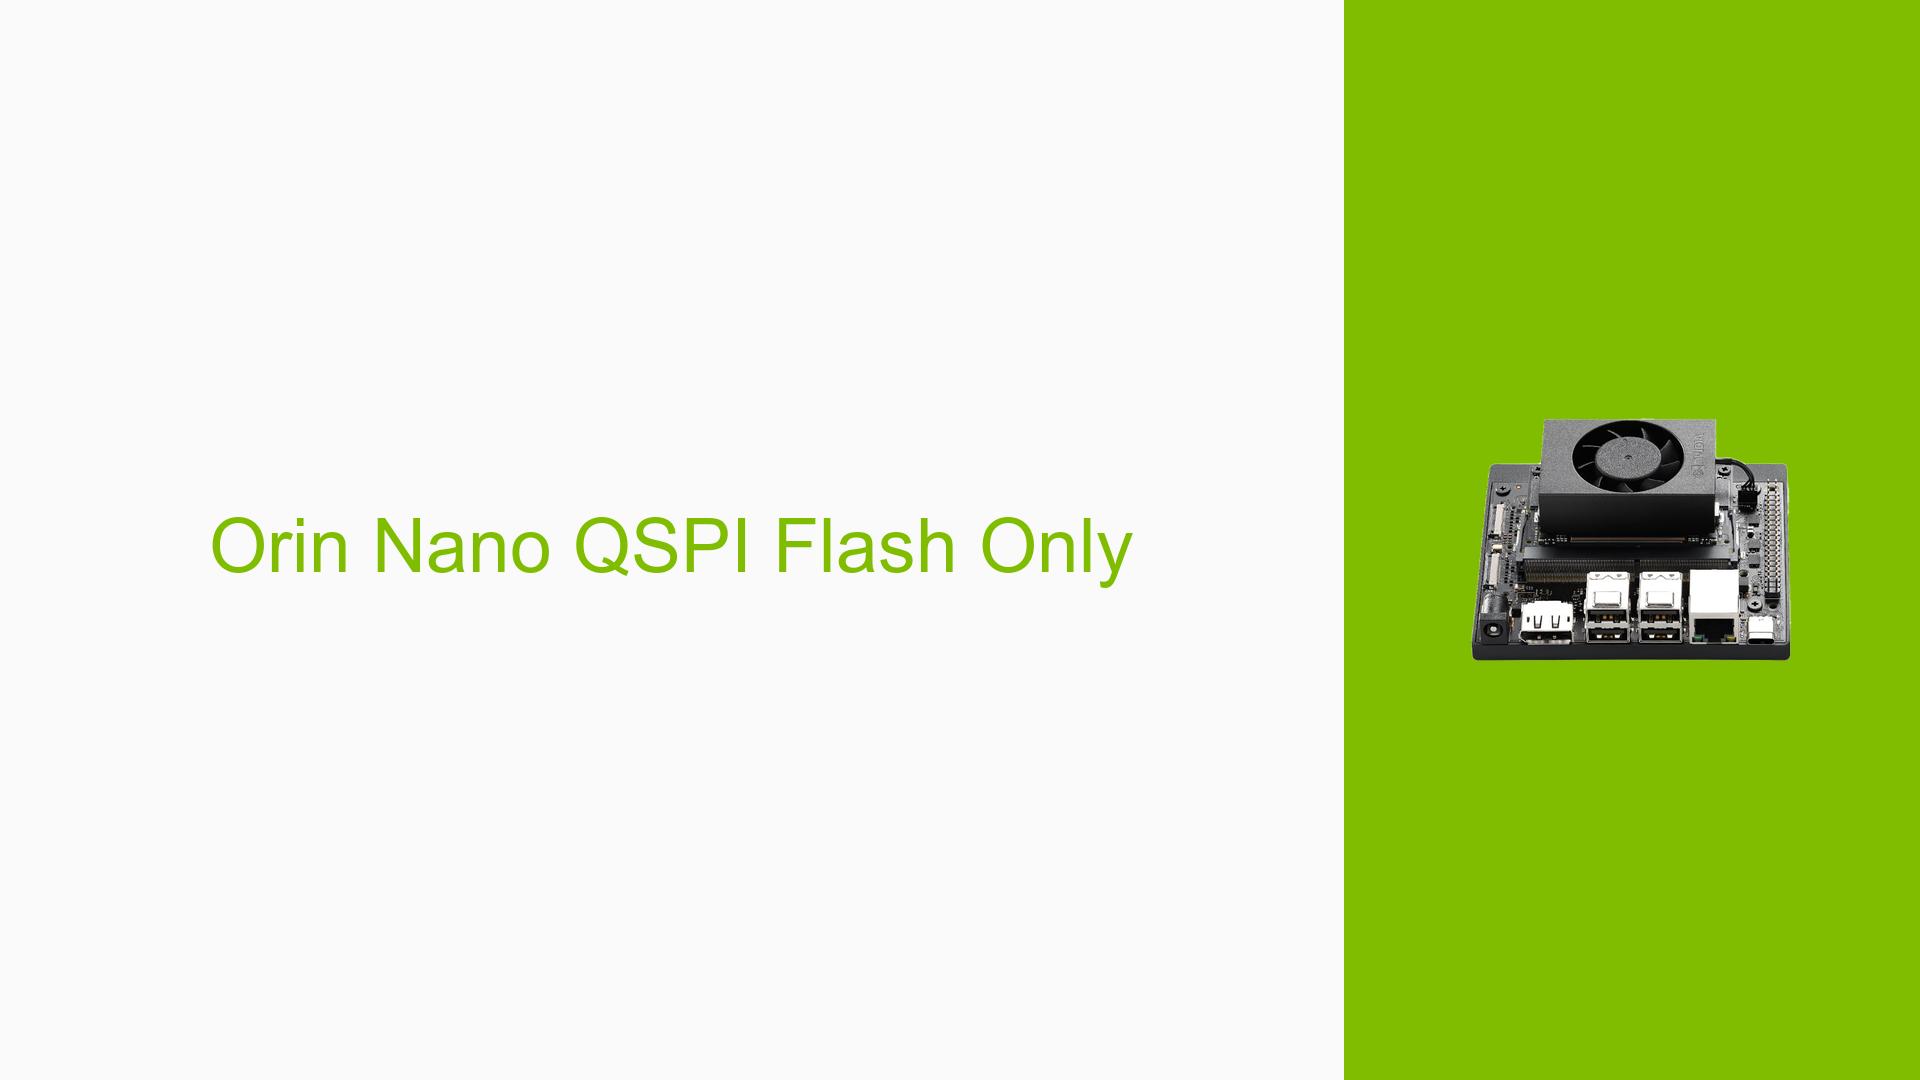
Orin Nano QSPI Flash Only
Issue Overview
Users are experiencing difficulties when attempting to flash the QSPI memory on the Nvidia Jetson Orin Nano Developer Kit. The primary symptoms include confusion regarding the correct command to use for flashing the QSPI without affecting the existing NVMe system image. Users reported wanting to flash a new Orin Nano devkit and boot from a cloned NVMe drive after only flashing the QSPI. The issue typically arises during the setup process, specifically when configuring the device for the first time. Hardware specifications mentioned include the Orin Nano devkit and NVMe drives containing a cloned system image. The problem appears to be relatively common among users trying to utilize cloned images effectively, impacting their ability to boot and run applications smoothly.
Possible Causes
- Hardware Incompatibilities or Defects: Issues may arise if there are defects in the hardware components, such as the QSPI chip or NVMe drives.
- Software Bugs or Conflicts: Incompatibilities between different versions of JetPack or other software components may lead to failures during the flashing process.
- Configuration Errors: Incorrect command syntax or parameters can prevent successful flashing of the QSPI.
- Driver Issues: Outdated or incompatible drivers may hinder communication between the host PC and the Orin Nano.
- Environmental Factors: Power supply instability or overheating could disrupt the flashing process.
- User Errors or Misconfigurations: Misunderstanding of commands or incorrect setup procedures can lead to unsuccessful attempts at flashing.
Troubleshooting Steps, Solutions & Fixes
-
Setting Up Recovery Mode:
- Ensure that the Orin Nano is powered off and disconnected from any power source.
- Connect a jumper between pins 9 and 10 on the J14 header to enable force recovery mode.
- Power on the device while keeping it connected to a data-capable USB-C cable linked to your host PC.
-
Verify Connection:
- On your host machine, run
lsusbin a terminal to confirm that the Orin Nano is recognized (look for "0955:7523 NVIDIA Corp. APX").
- On your host machine, run
-
Flashing Commands:
- To flash only the QSPI, use one of the following commands based on your requirements:
- For basic QSPI flash:
sudo ./flash.sh -c bootloader/generic/cfg/flash_t234_qspi.xml jetson-orin-nano-devkit internal - For enabling AB booting while flashing:
sudo ROOTFS_AB=1 ROOTFS_RETRY_COUNT_MAX=5 ./flash.sh -c bootloader/generic/cfg/flash_t234_qspi.xml jetson-orin-nano-devkit internal - If you want to avoid setting
ROOTFS_RETRY_COUNT_MAX, it defaults to 3.
- For basic QSPI flash:
- To flash only the QSPI, use one of the following commands based on your requirements:
-
Gather System Information:
- Use commands like
dmesgandjournalctlto check for any error messages related to USB connections or flashing processes.
- Use commands like
-
Isolate Issues:
- Test with different USB cables and ports to ensure that connectivity issues are not causing failures.
- If possible, try using another host PC running Ubuntu with JetPack installed.
-
Documentation and Updates:
- Regularly check for updates from NVIDIA regarding JetPack versions and QSPI firmware updates. Refer to NVIDIA’s official documentation for detailed instructions.
-
Best Practices:
- Always ensure that you are using a data-capable USB cable when connecting your Orin Nano to your host PC.
- Keep your software environment updated, including JetPack and any dependencies required for flashing.
-
Unresolved Aspects:
- Some users have reported issues with mass deployments of QSPI flashes and have expressed a need for clearer guidance on re-flashing multiple devices efficiently.
By following these troubleshooting steps, users should be able to successfully flash their Orin Nano’s QSPI memory and utilize their cloned NVMe images effectively.
