Understanding Pinmux Files for Jetson Orin Nano: Differences Between Tables
Issue Overview
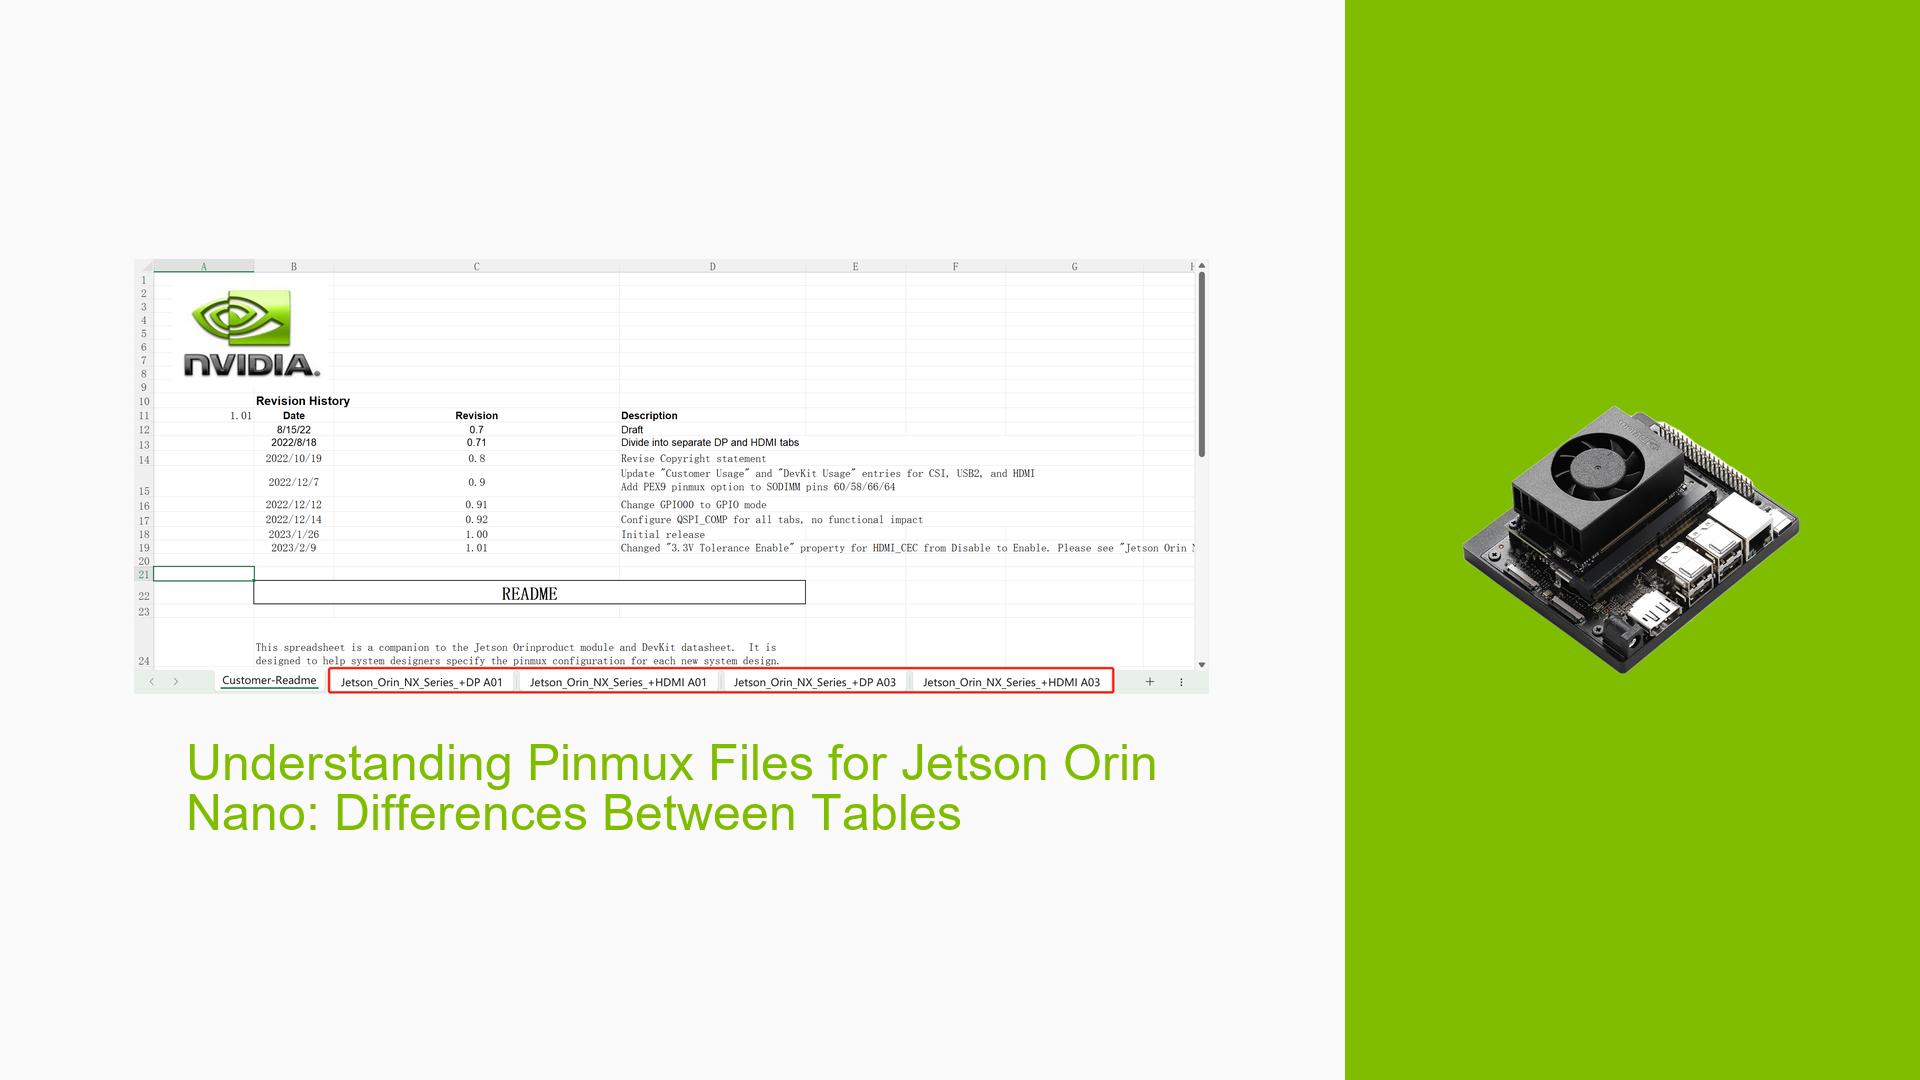
Users working with the Nvidia Jetson Orin Nano development board are encountering confusion regarding the pinmux files, specifically the presence of multiple tables within a single file. The main points of confusion include:
- The purpose and differences between the four tables in the pinmux file
- Which table should be used for specific projects
- Factors to consider when selecting the appropriate table
This issue primarily affects users during the setup and configuration phase of their projects, potentially impacting their ability to properly configure the board’s pin multiplexing for their specific applications.
Possible Causes
-
Lack of Documentation: Insufficient or unclear documentation from Nvidia regarding the purpose and usage of different pinmux tables.
-
Version Differences: The multiple tables might represent different hardware revisions or software versions of the Jetson Orin Nano.
-
Use-Case Specificity: Each table could be optimized for different use cases or peripheral configurations.
-
Development Stages: The tables might correspond to different stages of product development, from early prototypes to final release versions.
-
Backward Compatibility: Inclusion of multiple tables to ensure compatibility with various board revisions or previous software versions.
Troubleshooting Steps, Solutions & Fixes
-
Identify the Correct Table:
- As per the forum discussion, users should directly use the A03 table for their projects.
- The A01 table is intended for internal early-stage module development and should be avoided for general use.
-
Consult Official Documentation:
- Review the Jetson Orin Nano Developer Guide for specific information on pinmux configuration.
- Check for any release notes or errata that might explain the presence of multiple tables.
-
Determine Board Revision:
- Verify your Jetson Orin Nano board’s revision by checking the physical markings or using the following command in the terminal:
cat /sys/module/tegra_fuse/parameters/tegra_chip_id
- Verify your Jetson Orin Nano board’s revision by checking the physical markings or using the following command in the terminal:
-
Backup Current Configuration:
- Before making any changes, backup your current pinmux configuration:
sudo cp /boot/tegra234-p3767-0000-p3509-a02.dtb /boot/tegra234-p3767-0000-p3509-a02.dtb.backup
- Before making any changes, backup your current pinmux configuration:
-
Apply the A03 Configuration:
- If your pinmux file is in Device Tree Source (DTS) format, compile it to Device Tree Blob (DTB) format:
dtc -I dts -O dtb -o your_pinmux_a03.dtb your_pinmux_a03.dts - Copy the compiled DTB file to the boot partition:
sudo cp your_pinmux_a03.dtb /boot/tegra234-p3767-0000-p3509-a02.dtb
- If your pinmux file is in Device Tree Source (DTS) format, compile it to Device Tree Blob (DTB) format:
-
Verify Configuration:
- After applying the new pinmux configuration, reboot the system:
sudo reboot - Once rebooted, verify that the pins are configured correctly using the Jetson GPIO tool or by testing your specific application.
- After applying the new pinmux configuration, reboot the system:
-
Seek Community Support:
- If issues persist or you need further clarification, consider posting on the NVIDIA Developer Forums or the Jetson community on platforms like Stack Overflow.
-
Best Practices:
- Always use the latest official pinmux files provided by NVIDIA for your specific Jetson Orin Nano model.
- Keep your Jetson Orin Nano software stack up to date to ensure compatibility with the latest pinmux configurations.
- Document any custom pinmux changes you make for future reference and troubleshooting.
