Unable to Install Nvidia CUDA Toolkit and Run nvcc Command on Jetson Orin Nano Dev Board
Issue Overview
Users are experiencing difficulties in installing the Nvidia CUDA Toolkit and running the nvcc command on the Jetson Orin Nano Dev Board while using JetPack 6. The main symptoms reported include:
- The error message "CUDA backend failed to initialize: Unable to load cuPTI. Is it installed?" when attempting to run Python scripts that require CUDA support.
- The command
nvcc --versionreturns "bash: nvcc: command not found." - Attempts to install the Nvidia CUDA Toolkit using
sudo apt install nvidia-cuda-toolkitresult in unmet dependencies, specifically related to version mismatches (e.g., needingnvidia-cuda-dev (= 11.5.1-1ubuntu1)while trying to install version6.0-b52).
The issue arises during the setup phase after successfully installing JetPack 6 through the SDK Manager on Ubuntu 20.04. Users report that despite following standard installation procedures, they encounter persistent errors, affecting their ability to utilize GPU capabilities for applications like whisper-jax.
Possible Causes
Several potential causes for this issue have been identified:
-
Hardware Incompatibilities: There may be incompatibilities between the installed JetPack version and the CUDA toolkit version being requested.
-
Software Bugs or Conflicts: Conflicts between different versions of CUDA and other installed packages can lead to installation failures.
-
Configuration Errors: Incorrect environment variable settings in
.bashrcmay prevent proper recognition of installed CUDA components. -
Driver Issues: Outdated or incompatible NVIDIA drivers could hinder the functionality of CUDA.
-
Environmental Factors: Issues such as insufficient power supply or overheating could affect system performance and installation processes.
-
User Errors or Misconfigurations: Users may inadvertently misconfigure their environment or package sources, leading to dependency issues.
Troubleshooting Steps, Solutions & Fixes
To resolve the issues with installing the Nvidia CUDA Toolkit and running the nvcc command, follow these comprehensive troubleshooting steps:
-
Verify Environment Variables:
- Ensure that your
.bashrcfile contains the correct paths for CUDA:export PATH=/usr/local/cuda-12.2/bin:$PATH export LD_LIBRARY_PATH=/usr/local/cuda-12.2/lib64:$LD_LIBRARY_PATH - After editing
.bashrc, run:source ~/.bashrc
- Ensure that your
-
Check Installed Packages:
- Run the following command to check for broken packages:
sudo apt-get check
- Run the following command to check for broken packages:
-
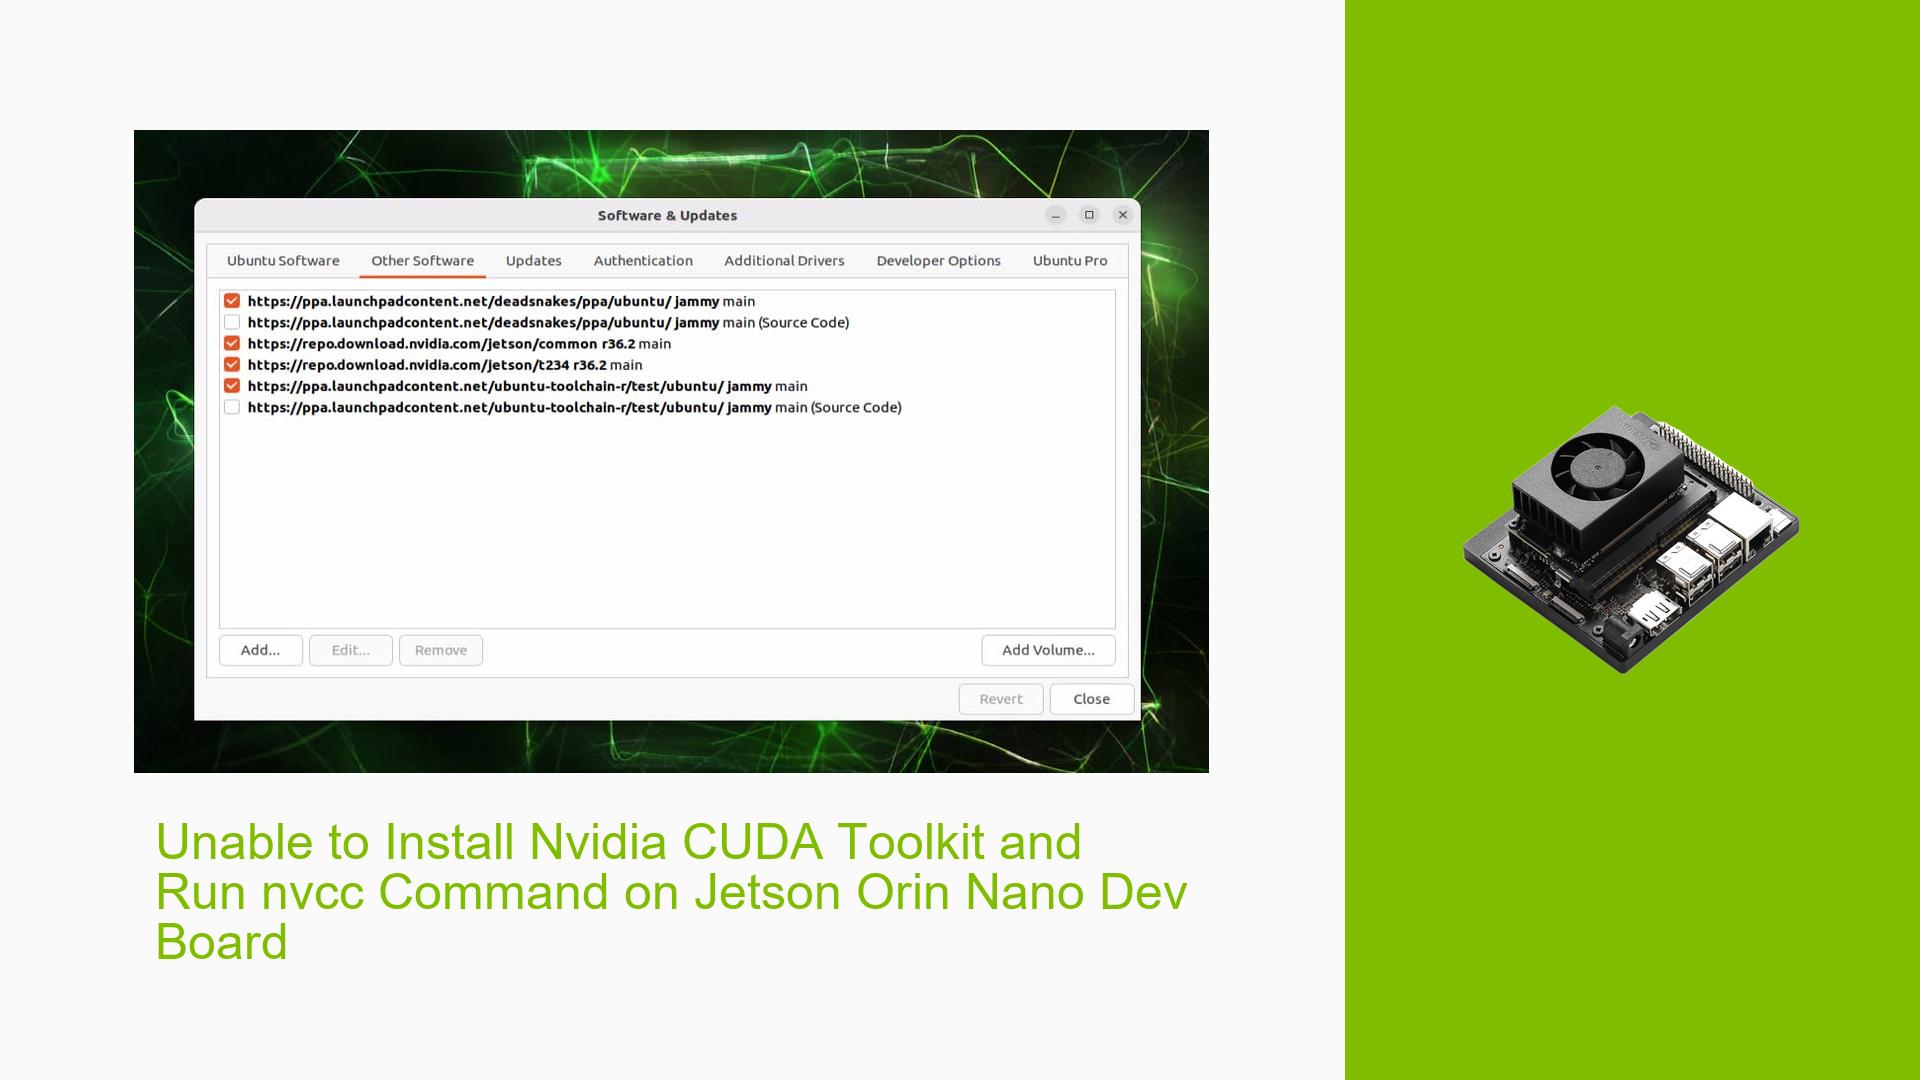
Remove Unnecessary PPAs:
- Use Software Updater to remove any unnecessary PPAs that may cause conflicts. Uncheck any PPAs that are not essential.
-
Update Package Lists:
- Execute the following commands to ensure your package lists are up-to-date:
sudo apt-get update
sudo apt-get upgrade
sudo apt-get dist-upgrade
- Execute the following commands to ensure your package lists are up-to-date:
-
Fix Broken Packages:
- Attempt to fix broken packages with:
sudo apt --fix-broken install
- Attempt to fix broken packages with:
-
Install Nvidia CUDA Toolkit:
- After ensuring there are no broken packages, try installing the Nvidia CUDA Toolkit again:
sudo apt install nvidia-cuda-toolkit
- After ensuring there are no broken packages, try installing the Nvidia CUDA Toolkit again:
-
Check CUDA Installation:
- After installation, verify if
nvccis now recognized:nvcc --version
- After installation, verify if
-
Reflash System (if necessary):
- If issues persist, consider reflashing your system with a stable version of JetPack (e.g., r36). Check your current version with:
cat /etc/nv_tegra_release
- If issues persist, consider reflashing your system with a stable version of JetPack (e.g., r36). Check your current version with:
-
Seek Further Assistance:
- If all else fails, consult NVIDIA forums or support for additional troubleshooting steps specific to your hardware configuration.
By following these steps, users have successfully resolved similar issues in past discussions, particularly by managing their PPA settings and ensuring correct package installations.
