The Orin Module Needs to be Re-Burned Before Startup
Issue Overview
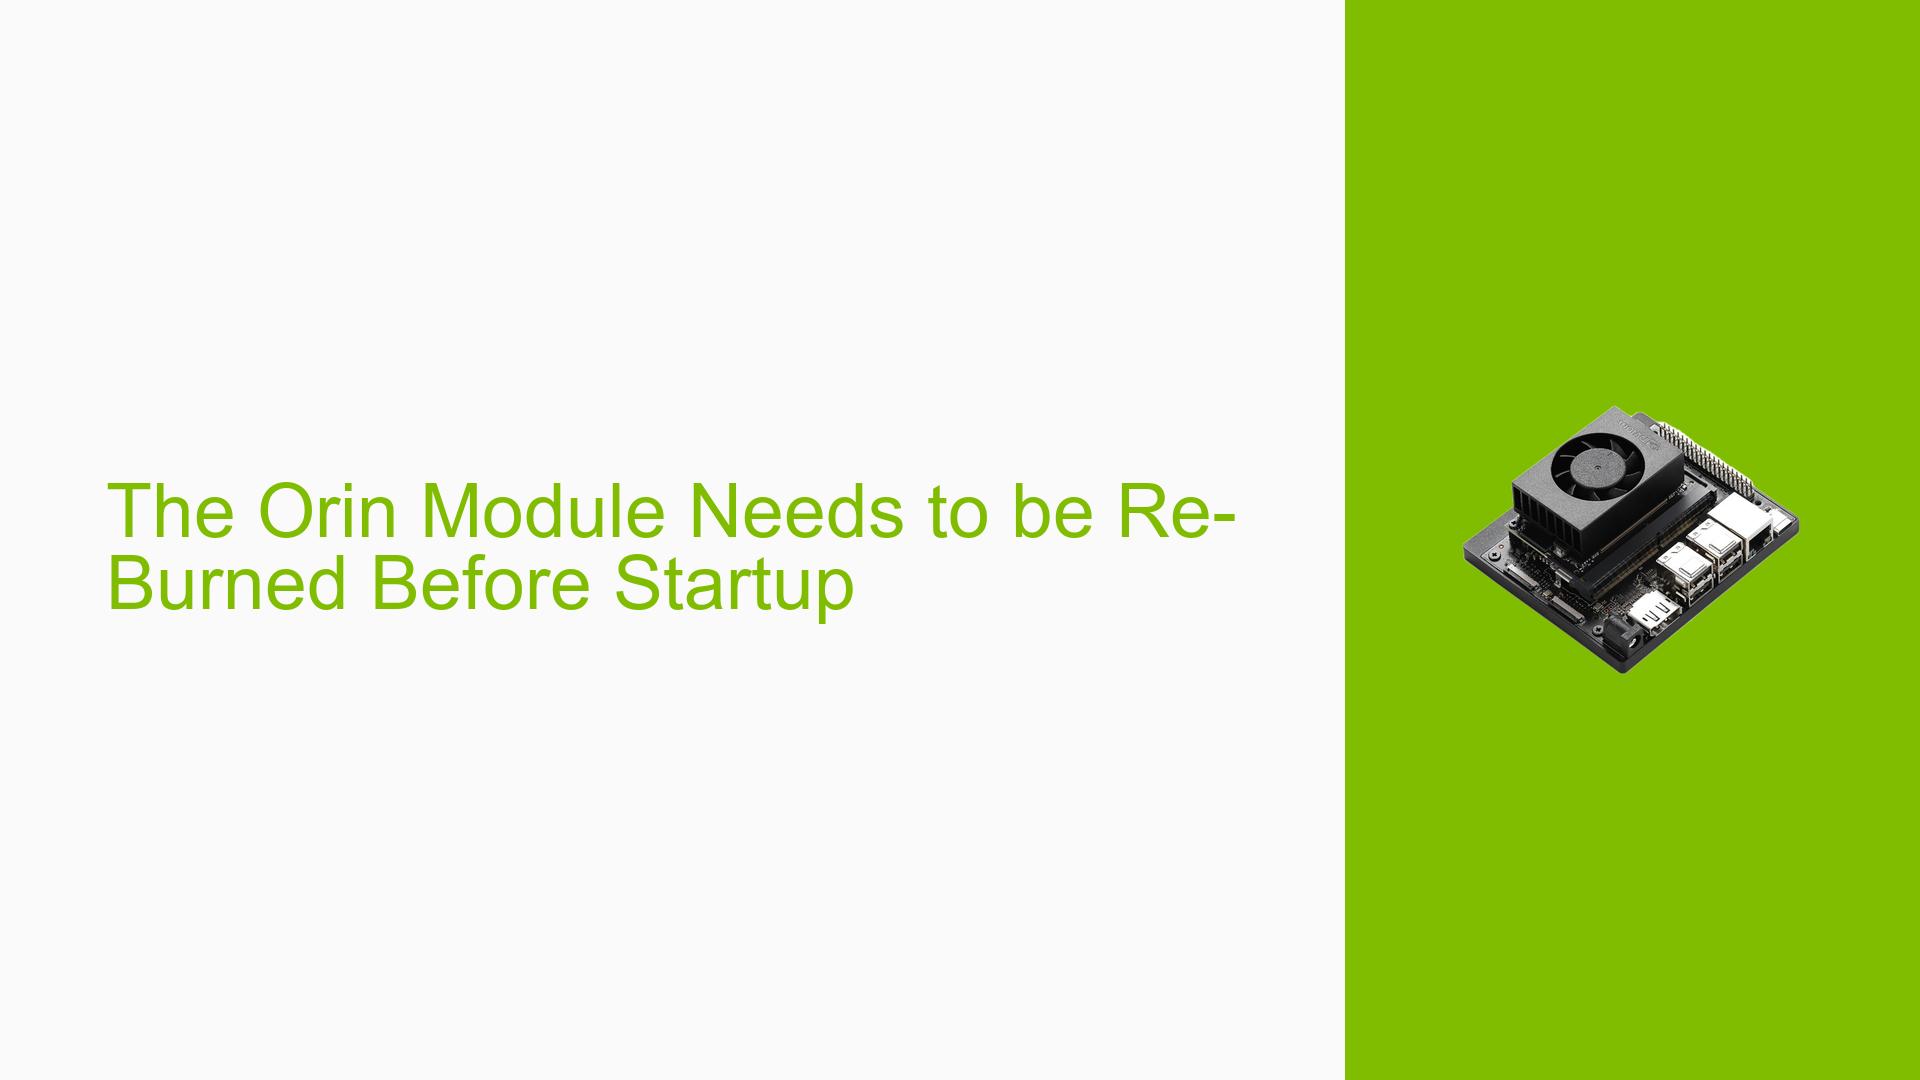
Users are experiencing issues with the Nvidia Jetson Orin Nano Dev board, specifically when attempting to start the board after replacing the original factory-burned module with a new, unburned module. The symptoms include failure to boot successfully, requiring users to re-burn the module before it can operate. This problem typically arises during setup or when switching modules. Users have reported that their client has multiple Orin boards and is reluctant to re-burn each one, raising concerns about whether the original module’s burning process affected the EEPROM of the core board. The issue appears consistent across different setups, significantly impacting user experience by delaying project timelines and complicating deployment.
Possible Causes
- Hardware Incompatibilities or Defects: New modules may lack necessary bootloader information, preventing startup.
- Software Bugs or Conflicts: Major differences in software versions between the burned SSD and the new module can lead to boot failures.
- Configuration Errors: Incorrect configurations during the burning process could result in an inability to recognize or utilize the new module.
- Driver Issues: Missing or outdated drivers may hinder proper communication between components.
- Environmental Factors: Power supply inconsistencies could affect module performance during startup.
- User Errors or Misconfigurations: Improper burning procedures or settings may lead to operational failures.
Troubleshooting Steps, Solutions & Fixes
-
Verify Hardware Setup:
- Ensure all connections are secure and that the power supply meets specifications (19V for Orin Nano).
-
Check Bootloader Status:
- Confirm whether the QSPI (where UEFI bootloader is stored) is properly flashed. If not, it must be burned before the module can function.
- Use the command:
sudo ./flash.sh --no-systemimg -c bootloader/t186ref/cfg/flash_t234_qspi.xml <device> <root dev>
-
Re-Burn Modules:
- If using a new unburned module, follow these steps:
- Flash the SSD with the appropriate image using:
sudo ./tools/kernel_flash/l4t_initrd_flash.sh --external-device nvme0n1p1 -c tools/kernel_flash/flash_l4t_external.xml -p " -c bootloader/t186ref/cfg/flash_t234_qspi.xml" --showlogs --network usb0 p3509-a02+p3767-0000 internal
- Flash the SSD with the appropriate image using:
- This process may take approximately 20 minutes.
- If using a new unburned module, follow these steps:
-
Use Mass Flashing Techniques:
- For bulk operations, consider using mass flashing methods or SSD cloning to reduce time spent on individual burns.
-
Update Firmware:
- Ensure that you are using the latest firmware compatible with JetPack 6. If issues persist, revert to JetPack 5 as it is more stable for initial setups.
-
Recovery Mode Activation:
- To enter recovery mode for flashing, connect pins 9 and 10 of the Button Header while powering on.
-
Documentation and Community Resources:
- Refer to NVIDIA’s official documentation for detailed setup instructions and troubleshooting guides:
-
Best Practices for Future Use:
- Always flash new modules upon receipt.
- Maintain updated firmware and software versions to avoid compatibility issues.
- Document configurations and settings used during flashing for future reference.
-
Unresolved Issues:
- Further investigation may be needed regarding whether any residual data from previous burns affects new modules.
- Users have noted that while SSD cloning can save time, unique identifiers (like UUIDs) must be managed carefully to avoid conflicts.
By following these steps and utilizing available resources, users can effectively troubleshoot and resolve issues related to starting their Nvidia Jetson Orin Nano Dev boards after replacing modules.
