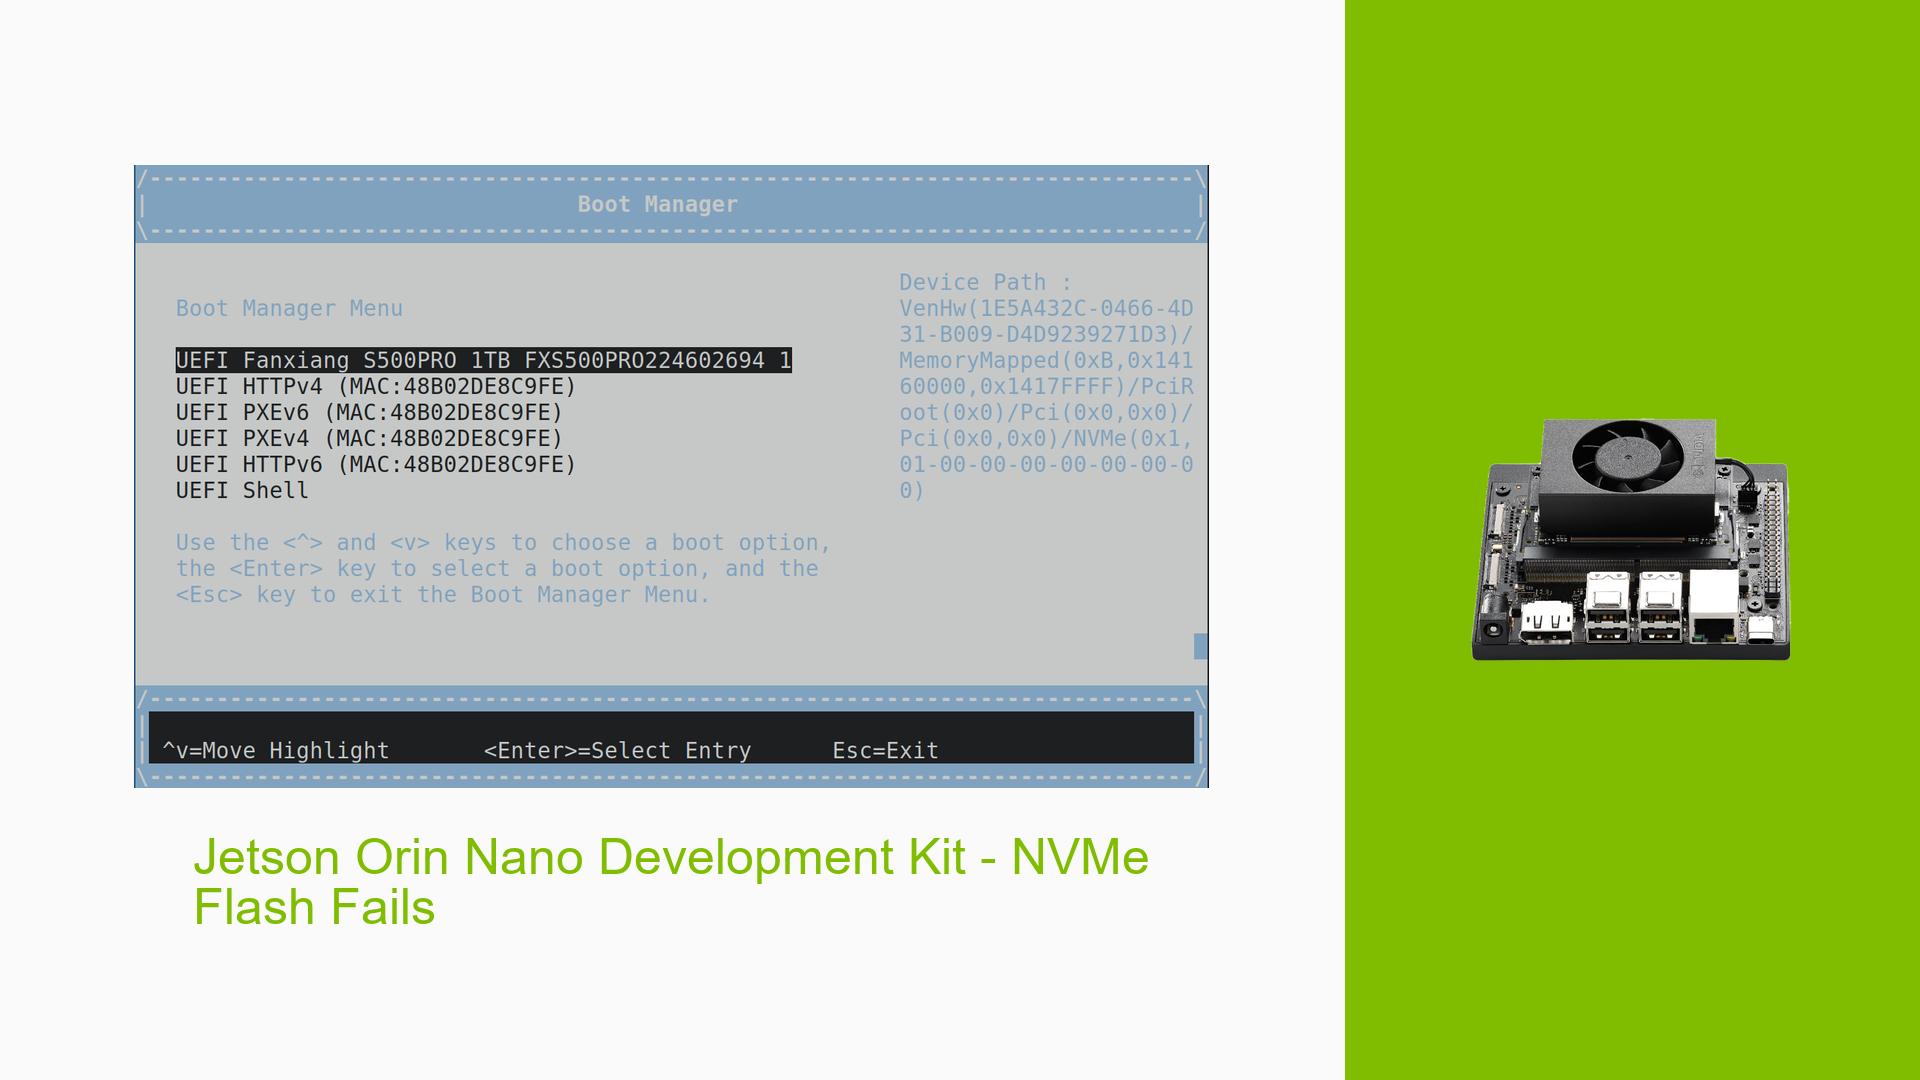
Jetson Orin Nano Development Kit – NVMe Flash Fails
Issue Overview
Users are experiencing significant difficulties when attempting to flash the Nvidia Jetson Orin Nano Development Kit (DevKit) to an external NVMe drive. The problems manifest during various stages of the flashing process, primarily when utilizing the SDK Manager CLI or manual flashing scripts.
Symptoms and Errors
-
Initial Failures: Users report errors such as "TypeError: Cannot read properties of undefined (reading ‘show’)" when attempting to initiate the flashing process.
-
Installation Failures: When selecting additional components, installations may start but subsequently fail with messages indicating file existence issues, such as "error: mknod: … File exists" and "Installation failed."
-
Stuck Processes: Users have noted that certain commands, like
tegrarcm_v2, can hang indefinitely, leading to prolonged waiting times without progress. -
Manual Flashing Issues: Attempts to flash using manual scripts result in failures, often indicating missing directories or files, such as "lib/modules" being absent.
Context
The issues arise during both the initial setup and subsequent attempts to re-flash the device. Users have reported using different host systems (Ubuntu 18 and 20) and configurations without resolving the problem. The frequency of these issues appears to be high among users attempting to flash the device.
Hardware and Software Specifications
- DevKit Model: Nvidia Jetson Orin Nano
- Software Version: JetPack 5.1.1
- Host OS: Ubuntu 18/20, with some users reporting success on Ubuntu 18.
- Flashing Method: Both SDK Manager CLI and manual scripts.
Impact on User Experience
The inability to successfully flash the device severely hampers users’ ability to utilize the Jetson Orin Nano for development purposes, leading to frustration and delays in project timelines.
Possible Causes
-
Hardware Incompatibilities: There may be issues related to specific hardware configurations or defects in the DevKit or NVMe drives.
-
Software Bugs or Conflicts: Bugs within JetPack or conflicts with other installed software could lead to installation failures.
-
Configuration Errors: Incorrect settings during the flashing process may result in failure, especially if prerequisites are not met.
-
Driver Issues: Missing or outdated drivers could prevent successful communication between the host system and the DevKit.
-
Environmental Factors: Power supply inconsistencies or overheating could affect flashing processes.
-
User Errors: Misconfigurations or incorrect command usage by users may contribute to the observed problems.
Troubleshooting Steps, Solutions & Fixes
Step-by-Step Troubleshooting
-
Check Prerequisites
- Ensure all required packages are installed by running:
sudo ./tools/l4t_flash_prerequisites.sh
- Ensure all required packages are installed by running:
-
Run Apply Binaries Script
- Execute:
sudo ./apply_binaries.sh - Verify that all necessary files are present after this step.
- Execute:
-
Re-download BSP Packages
- If issues persist, download fresh copies of:
- Jetson_Linux_R35.3.1_aarch64.tbz2
- Tegra_Linux_Sample-Root-Filesystem_R35.3.1_aarch64.tbz2
- Ensure integrity with
md5sum.
- If issues persist, download fresh copies of:
-
Check Directory Structure
- After applying binaries, confirm that:
ls Linux_for_Tegra/rootfs/lib/modules/5.10.104-tegra/kernel/drivers - If this directory is missing, it indicates an incomplete installation.
- After applying binaries, confirm that:
-
Flash Using Manual Scripts
- Attempt manual flashing with:
sudo ./tools/kernel_flash/l4t_initrd_flash.sh --external-device nvme0n1p1 -c tools/kernel_flash/flash_l4t_external.xml --showlogs --network usb0 jetson-orin-nano-devkit internal - Monitor logs for specific errors during this process.
- Attempt manual flashing with:
-
Test Different Host Systems
- If using Ubuntu 20, consider switching to Ubuntu 18 based on user reports of success.
-
Isolate Environmental Factors
- Disconnect all peripherals (keyboard, mouse, etc.) before attempting to flash again.
- Ensure stable power supply and appropriate cooling for the DevKit.
-
Check Boot Order in UEFI
- Confirm that UEFI settings do not prioritize booting from USB or other devices over NVMe.
-
Use UART for Debugging
- Connect via UART for detailed logs during boot-up and flashing processes.
- Monitor for any unusual messages that could indicate underlying issues.
-
SSH Connection Setup
- After flashing, ensure that you connect through USB rather than Ethernet initially:
ssh [email protected]
- After flashing, ensure that you connect through USB rather than Ethernet initially:
Recommended Solutions
-
Users have reported success by ensuring all binaries are correctly applied before flashing.
-
Switching host systems from Ubuntu 20 to Ubuntu 18 has resolved issues for some users.
Best Practices for Future Prevention
-
Always verify package integrity before starting installations.
-
Maintain a clean working environment by regularly clearing out old installation files and logs.
-
Keep software and drivers updated to avoid compatibility issues.
Unresolved Aspects
Some users continue to experience issues even after following these steps, particularly concerning persistent booting into UEFI Shell despite successful flashing attempts. Further investigation may be required into specific hardware configurations or deeper software bugs within JetPack versions related to NVMe support on different host OS setups.
