
Integrating Custom YOLOv5 Model with DeepStream and Raspberry Pi Camera in Visual Studio Code
Issue Overview
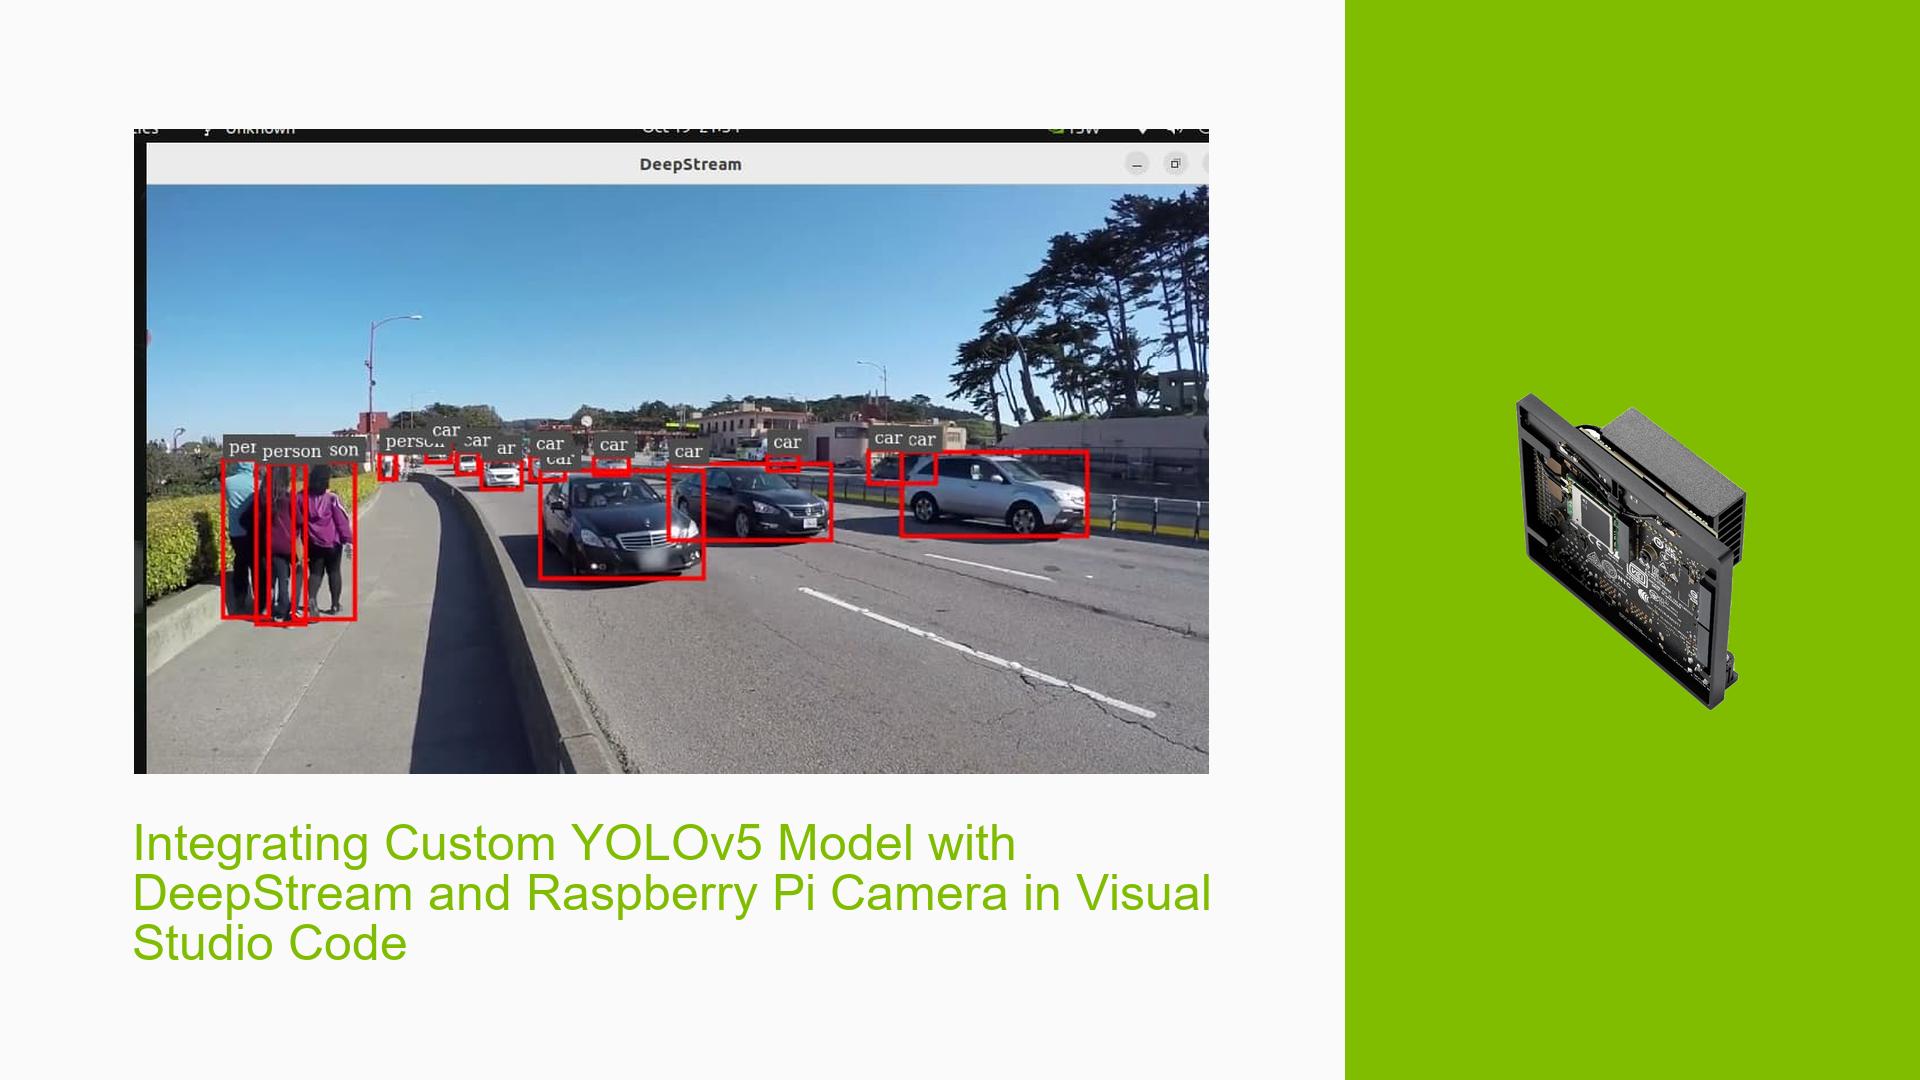
Users are seeking guidance on integrating a custom-trained YOLOv5 model with NVIDIA DeepStream and a Raspberry Pi Camera v2 using Visual Studio Code with Python. The goal is to perform object detection on live video feed from the Raspberry Pi camera using the custom YOLOv5 model. Users have successfully run YOLOv5 with DeepStream using Marcos’ repository, but they need assistance in adapting the setup to their specific requirements.
Possible Causes
- Lack of familiarity with the process of training and integrating custom YOLOv5 models
- Insufficient knowledge of DeepStream configuration for custom models
- Uncertainty about the compatibility of DeepStream with Raspberry Pi and Visual Studio Code
- Limited experience in setting up the Raspberry Pi camera with DeepStream
Troubleshooting Steps, Solutions & Fixes
-
Training a Custom YOLOv5 Model:
- Use a dataset of images relevant to your object detection task
- Annotate the images using a labeling tool like LabelImg or CVAT
- Follow the YOLOv5 training guide to train your custom model using the annotated dataset
- Experiment with different model configurations and hyperparameters to achieve optimal performance
-
Integrating Custom YOLOv5 Model with DeepStream:
- Convert your trained YOLOv5 model to a format compatible with DeepStream, such as ONNX or TensorRT
- Modify the DeepStream configuration files to use your custom model:
[primary-gie] enable=1 gpu-id=0 batch-size=1 model-engine-file=path/to/your/custom/model.engine labelfile-path=path/to/your/label/file.txt - Adjust the DeepStream pipeline to incorporate your custom model and any additional processing steps
-
Setting up Raspberry Pi Camera with DeepStream:
- Install the necessary dependencies and drivers for the Raspberry Pi Camera v2 on your Jetson device
- Configure DeepStream to use the Raspberry Pi camera as the video source:
[source0] enable=1 type=v4l2 device=/dev/video0 - Verify that the camera feed is properly captured and processed by DeepStream
-
Running the Integration in Visual Studio Code:
- Set up a Python environment with the required dependencies for DeepStream and YOLOv5
- Create a new Python script in Visual Studio Code
- Import the necessary DeepStream and YOLOv5 libraries
- Initialize the DeepStream pipeline with your custom model and Raspberry Pi camera configuration
- Implement the object detection logic using YOLOv5 and DeepStream APIs
- Run the script and verify that objects are being detected from the live camera feed
-
Troubleshooting and Optimization:
- Monitor the system resources (CPU, GPU, memory) to ensure optimal performance
- Fine-tune the DeepStream configuration parameters to achieve the desired balance between accuracy and speed
- Investigate any error messages or warnings in the console output and refer to the DeepStream documentation for resolution
- Experiment with different YOLOv5 model sizes and configurations to find the best fit for your specific use case
For a complete example project, refer to the DeepStream-Yolo repository by Marcos (https://github.com/marcoslucianops/DeepStream-Yolo). You can use it as a starting point and adapt it to your custom YOLOv5 model and Raspberry Pi camera setup.
Remember to thoroughly test your integration and iterate on the configuration and code until you achieve satisfactory results. If you encounter any specific issues or errors, consult the DeepStream and YOLOv5 documentation, forums, or seek further assistance from the community.