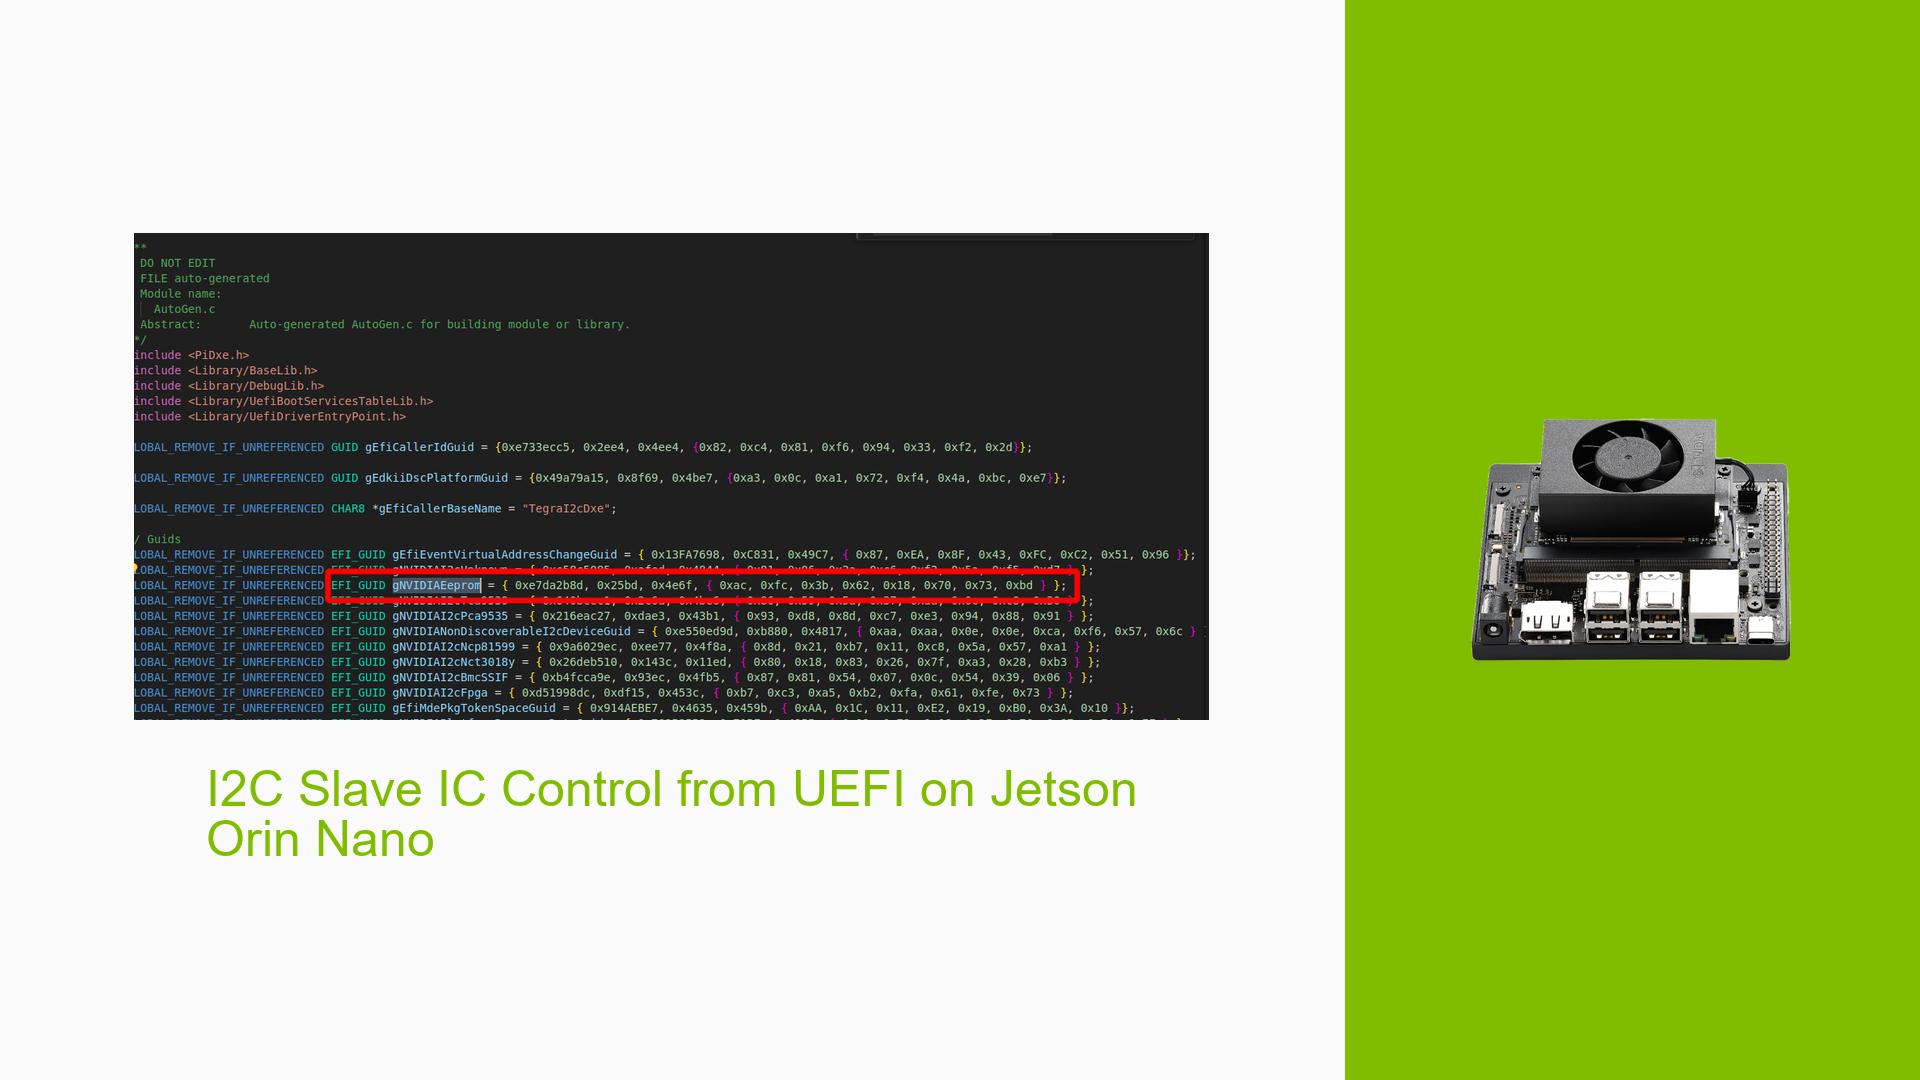
I2C Slave IC Control from UEFI on Jetson Orin Nano
Issue Overview
Users are experiencing difficulties controlling an I2C slave device (Maxim7313 IO expander) from UEFI on a Jetson Orin Nano with a custom carrier board running L4T 36.3. The main issues include:
- I2C signals are only visible on i2c-0 in oscilloscope, but not on i2c-1, i2c-2, or i2c-3.
- Lack of debug logs to understand where i2c-0 transmission is occurring.
- Difficulty in setting up a custom UEFI driver for the Maxim7313 IC on i2c-1.
- Uncertainty about obtaining and using the correct GUID for the Maxim7313 device.
These issues are preventing users from properly controlling their I2C slave devices from UEFI, which is crucial for their custom carrier board implementation.
Possible Causes
-
Incorrect I2C bus configuration: The UEFI might not be properly configured to enable all I2C buses, resulting in only i2c-0 showing activity.
-
Missing or incomplete UEFI driver: The lack of a specific UEFI driver for the Maxim7313 IC could be preventing proper communication on i2c-1.
-
GUID configuration issues: Incorrect or missing GUID for the Maxim7313 device in the UEFI configuration could be preventing proper device recognition and communication.
-
Debug log configuration: Insufficient or incorrect debug log settings might be hiding relevant I2C transmission information.
-
Hardware issues: There could be potential hardware problems with the custom carrier board or connections to the I2C buses.
Troubleshooting Steps, Solutions & Fixes
-
Verify I2C bus configuration:
- Review the UEFI configuration to ensure all I2C buses are properly enabled.
- Check the pinmux configuration for i2c-1, i2c-2, and i2c-3 to ensure they are correctly set up.
-
Implement a custom UEFI driver for Maxim7313:
- Use the existing EEPROM driver as a template:
edk2-nvidia/Silicon/NVIDIA/Drivers/EepromDxe/Eeprom.c - Modify the driver code to match the Maxim7313 specifications and requirements.
- Use the existing EEPROM driver as a template:
-
Generate and configure GUID for Maxim7313:
- Use the
uuidgencommand to generate a new GUID for your Maxim7313 device:uuidgen - Add the generated GUID to your UEFI configuration file (e.g., NVIDIA.dec):
gMaxim7313ProtocolGuid = { 0x12345678, 0x1234, 0x1234, { 0x12, 0x34, 0x56, 0x78, 0x9A, 0xBC, 0xDE, 0xF0 }} - Replace the placeholder GUID with the one generated by
uuidgen.
- Use the
-
Configure debug logs:
- Enable detailed I2C debug logs in the UEFI configuration.
- Add print statements in your custom driver to track I2C transactions:
DEBUG ((DEBUG_INFO, "Maxim7313: Sending command 0x%02X to address 0x%02X\n", Command, SlaveAddress));
-
Verify hardware connections:
- Double-check all I2C connections on your custom carrier board.
- Ensure proper power supply to the Maxim7313 IC and other I2C devices.
-
Implement the driver in the UEFI build:
- Add your custom driver to the appropriate UEFI build files.
- Update the
AutoGen.cfile to include your driver:EFI_DRIVER_BINDING_PROTOCOL gMaxim7313DriverBinding = { Maxim7313DriverBindingSupported, Maxim7313DriverBindingStart, Maxim7313DriverBindingStop, 0xa, NULL, NULL };
-
Test I2C communication:
- Use UEFI Shell commands to test basic I2C communication with the Maxim7313 device.
- Implement simple read/write operations in your custom driver and test them.
-
Consult Nvidia documentation:
- Review the Jetson Linux Developer Guide for any specific I2C configuration requirements.
- Check for any errata or known issues related to I2C communication on the Jetson Orin Nano.
-
Seek vendor support:
- Contact the vendor of your custom carrier board for any specific UEFI configurations or drivers they may provide.
- Reach out to Maxim Integrated (now part of Analog Devices) for any available UEFI driver support for the Maxim7313 IC.
If these steps do not resolve the issue, consider opening a support ticket with Nvidia, providing detailed logs, oscilloscope readings, and your custom driver code for further assistance.
