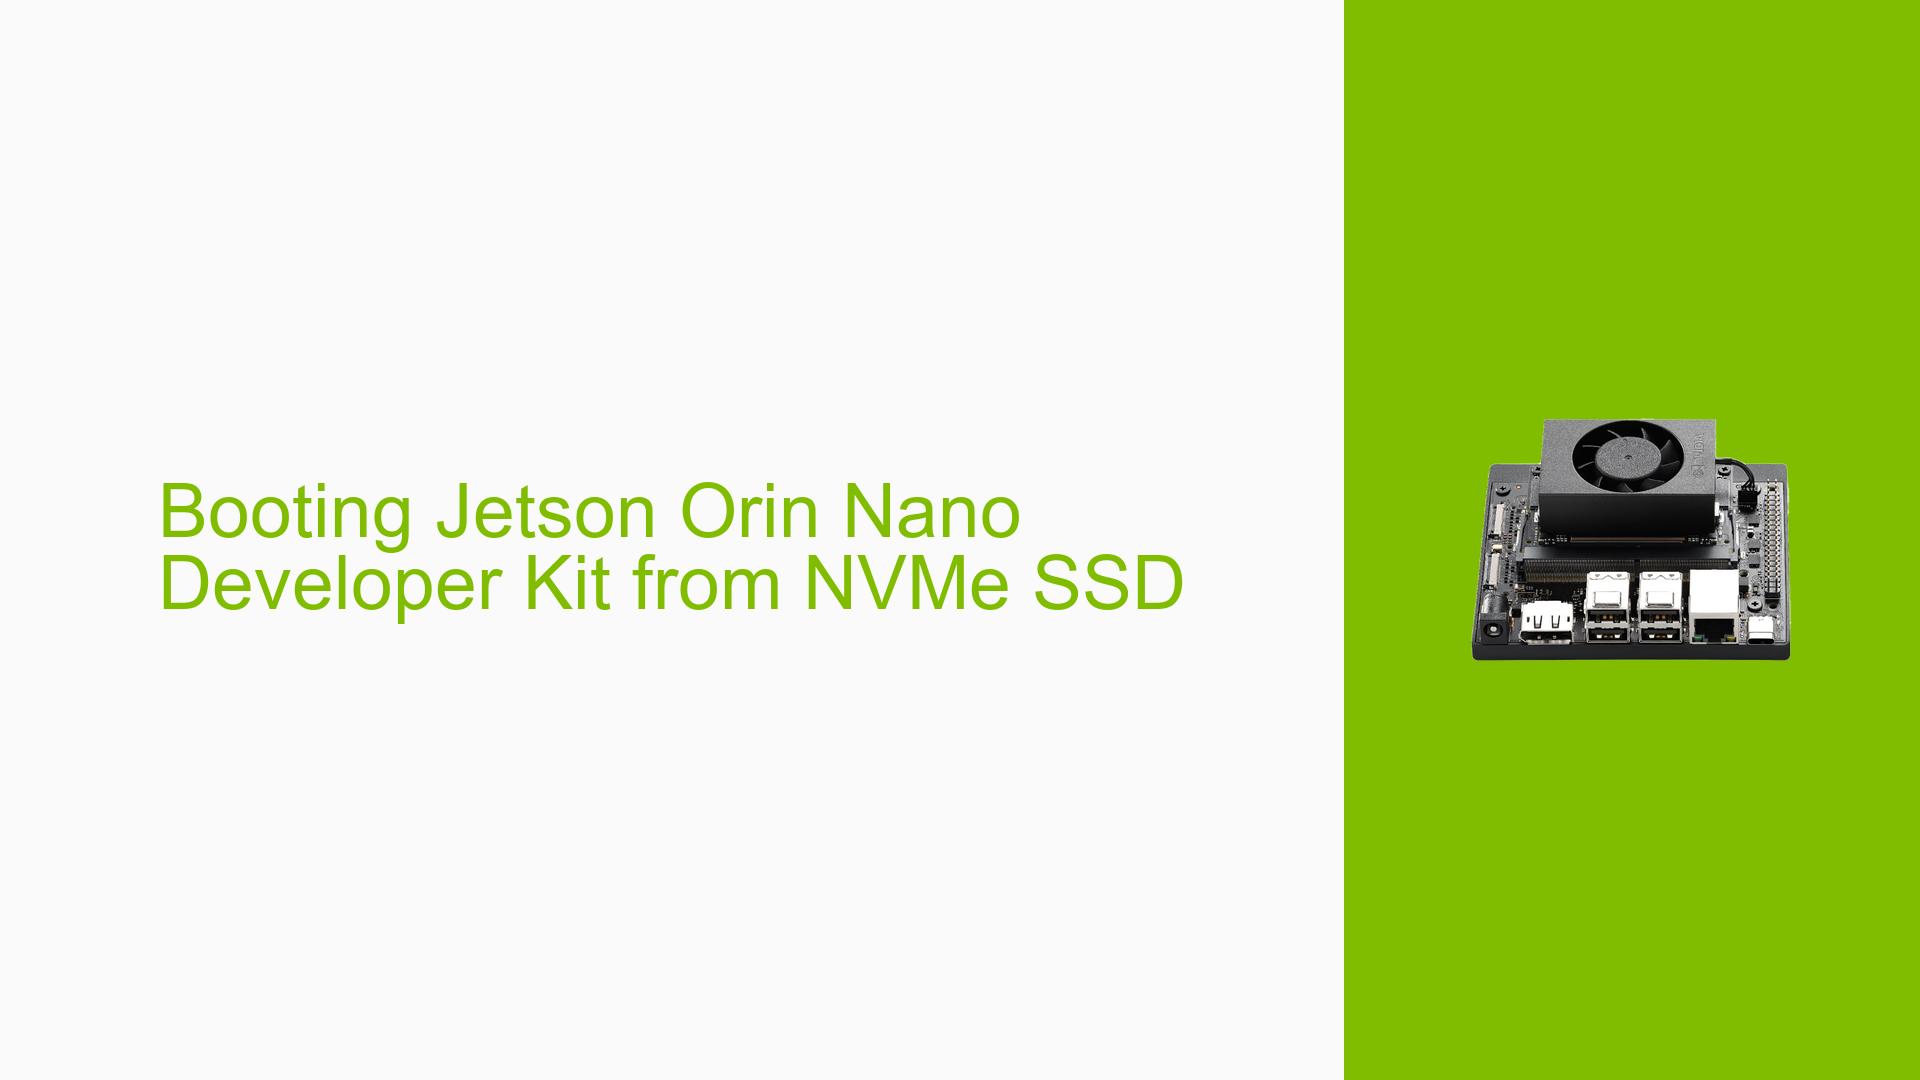
Booting Jetson Orin Nano Developer Kit from NVMe SSD
Issue Overview
Users are experiencing difficulties setting up their Jetson Orin Nano Developer Kit to boot from an NVMe SSD. The primary challenges include:
- Incompatibility issues when using SDK Manager through virtual machines (VirtualBox) on Mac or Windows systems
- USB version conflicts, particularly with USB 3.0 not being supported for flashing
- Lack of clear instructions for setting up NVMe boot using a host PC
- Difficulties in putting the device into force recovery mode
- Confusion about the correct jumper pin placement for recovery mode
These issues are preventing users from successfully flashing the NVMe SSD and booting from it, impacting the initial setup and functionality of the Jetson Orin Nano Developer Kit.
Possible Causes
-
Virtual Machine Limitations: VirtualBox and other VMs may not properly pass through USB devices, causing detection and flashing issues.
-
USB Incompatibility: The Jetson Orin Nano Developer Kit appears to have limitations with USB 3.x during the Tegra OS installation process.
-
Incorrect Recovery Mode: Failure to properly enter force recovery mode can prevent successful flashing.
-
Improper Jumper Placement: Incorrect placement of the jumper pin can lead to failure in entering recovery mode.
-
NVMe Compatibility: Using PCIe 4.0 NVMe SSDs instead of the supported PCIe 3.0 may cause issues or suboptimal performance.
-
Software Interference: Security software or other applications on the host system may interfere with the flashing process.
-
Outdated Host OS: Using an outdated version of Ubuntu or other operating systems may cause compatibility issues with SDK Manager.
Troubleshooting Steps, Solutions & Fixes
-
Use a Native Ubuntu Host:
- Install Ubuntu 20.04 LTS on a dedicated machine or partition.
- Avoid using virtual machines for flashing, as they are not officially supported.
-
Proper NVMe Selection:
- Use a PCIe 3.0 NVMe SSD (e.g., Samsung 980 NVMe M.2 SSD).
- Ensure the NVMe is installed in the correct slot on the Jetson board.
-
Correct Jumper Placement:
- Locate the J14 pins under the Jetson Orin Nano board (daughter board).
- Place the jumper on these pins to enter force recovery mode.
-
USB Port Selection:
- Try different USB ports on your host machine, preferably USB 2.0 ports.
- Some users reported success with specific ports (e.g., front ports on workstations).
-
SDK Manager Setup:
- Download and install NVIDIA SDK Manager from the official website.
- Use Manual Setup in SDK Manager when flashing.
- Select the Jetson Orin Nano Model or Developer Kit option when prompted.
-
Force Recovery Mode:
- Power on the board with the jumper in place.
- Verify that SDK Manager recognizes the board in recovery mode.
-
USB Filtering in VirtualBox (if VM is necessary):
- Add two USB filters in VirtualBox:
a. NVIDIA Linux for Tegra [0002]
b. NVIDIA Corp. APX [0401] (only visible in force recovery mode)
- Add two USB filters in VirtualBox:
-
Flashing Process:
- Use the Manual Setup option in SDK Manager.
- Follow the installation process carefully.
- Remove the jumper pin after successful installation.
-
Troubleshoot Interference:
- Temporarily disable security software (e.g., Symantec Endpoint Protection) during the flashing process.
-
Update Host OS:
- Ensure your Ubuntu installation (preferably 20.04 LTS) is up to date.
-
NVMe Setup Resources:
-
Refer to the Jetson Orin Nano Developer Kit User Guide for software setup:
https://developer.nvidia.com/embedded/learn/get-started-jetson-orin-nano-devkit -
For BSP flashing instructions, check:
https://docs.nvidia.com/jetson/archives/r35.3.1/DeveloperGuide/text/IN/QuickStart.html
-
If issues persist, consider reaching out to NVIDIA support or consulting the Jetson community forums for more specific troubleshooting based on your exact hardware configuration and symptoms.
