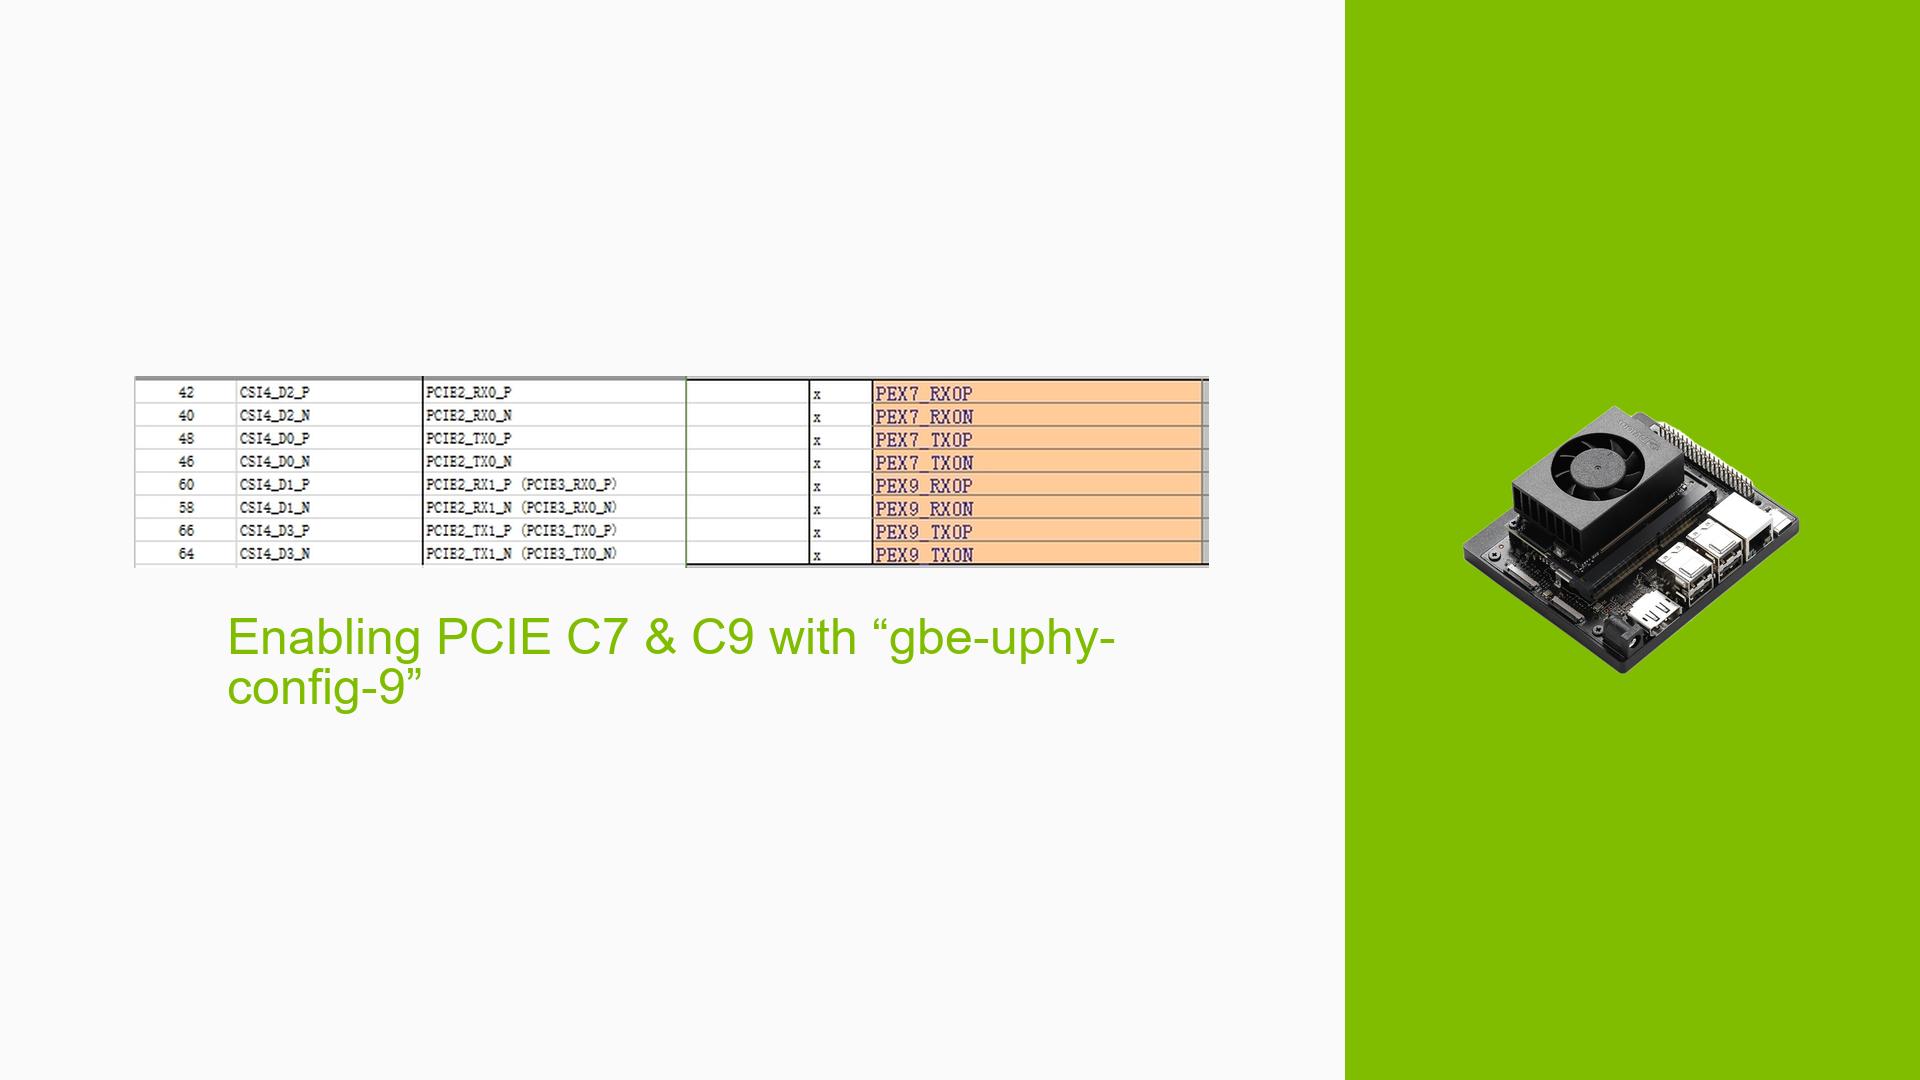
Enabling PCIE C7 & C9 with “gbe-uphy-config-9”
Issue Overview
Users are experiencing boot failures with the Nvidia Jetson Orin Nano Dev board after attempting to enable the C7 and C9 PCIe interfaces through modifications to the ODMDATA configuration. The specific symptoms include:
- Failure to boot UEFI when NVMe is not connected, despite successfully flashing the bootloader and system image.
- Users have modified the ODMDATA to "gbe-uphy-config-9" and attempted various commands for flashing without success.
The issue arises during the setup process, particularly after making changes to the device tree and flashing procedures. Relevant hardware includes the custom board configuration with specific PCIe interface modifications. The problem appears to be consistent among users who have attempted similar configurations, significantly impacting their ability to utilize the board’s functionality.
Possible Causes
-
Hardware Modifications: The splitting of the C7 PCIEx2 into C7 PCIEx1 and C9 PCIEx1 may lead to misconfigurations if not properly accounted for in the device tree.
-
Device Tree Configuration: Failure to modify or replace the correct device tree files can prevent proper recognition of the new PCIe configurations.
-
Bootloader Flashing Errors: Incorrect commands or parameters during the flashing process could lead to incomplete or erroneous bootloader installations.
-
Kernel Device Tree Issues: If the kernel device tree is not updated after making changes, it may lead to boot failures.
-
User Errors: Missteps in following flashing procedures or overlooking necessary modifications could contribute to the problem.
Troubleshooting Steps, Solutions & Fixes
-
Verify Hardware Configuration:
- Ensure that all physical connections are secure and that the custom board is correctly configured for PCIe usage.
-
Modify Device Tree:
- Update the kernel device tree according to changes made in hardware. This includes modifying
tegra234-p3509-a02-pice.dtsiand ensuring that it reflects your custom configuration. - Use commands like:
sudo ./tools/kernel_flash/l4t_initrd_flash.sh --no-flash --external-device nvme0n1p1 -c ./tools/kernel_flash/flash_l4t_external.xml jetson-orin-nano-devkit external
- Update the kernel device tree according to changes made in hardware. This includes modifying
-
Rebuild Kernel and Device Tree Blob (DTB):
- After modifying the device tree, rebuild it before flashing:
make dtbs - Replace the existing DTB file in your kernel with the newly built one.
- After modifying the device tree, rebuild it before flashing:
-
Flash Bootloader and System Image:
- Execute the following commands sequentially, ensuring each step completes successfully:
sudo ./flash.sh -c bootloader/t186ref/cfg/flash_t234_qspi.xml --no-systemimg jetson-orin-nano-devkit external

sudo BOARDID=3767 BOARDSKU=0003 ./tools/kernel_flash/l4t_initrd_flash.sh --no-flash --external-device nvme0n1p1 -c ./tools/kernel_flash/flash_l4t_external.xml jetson-orin-nano-devkit external

sudo ./tools/kernel_flash/l4t_initrd_flash.sh --flash-only --external-device nvme0n1p1 --direct sdb -c ./tools/kernel_flash/flash_l4t_external.xml jetson-orin-nano-devkit external
- Execute the following commands sequentially, ensuring each step completes successfully:
-
Check Boot Logs:
- Review boot logs for any error messages that can provide insight into what might be going wrong.
-
Test Without NVMe:
- After flashing, test booting UEFI without connecting NVMe to confirm if it initializes correctly.
-
Community Resources:
- Engage with community forums for shared experiences and solutions. Users have reported success after ensuring they replaced the build DTB file before flashing.
-
Documentation and Updates:
- Regularly check Nvidia’s official documentation for updates on drivers or firmware that may address known issues related to PCIe configurations.
By following these troubleshooting steps, users can systematically address the boot failure issues related to enabling C7 and C9 on their Nvidia Jetson Orin Nano Dev boards.
