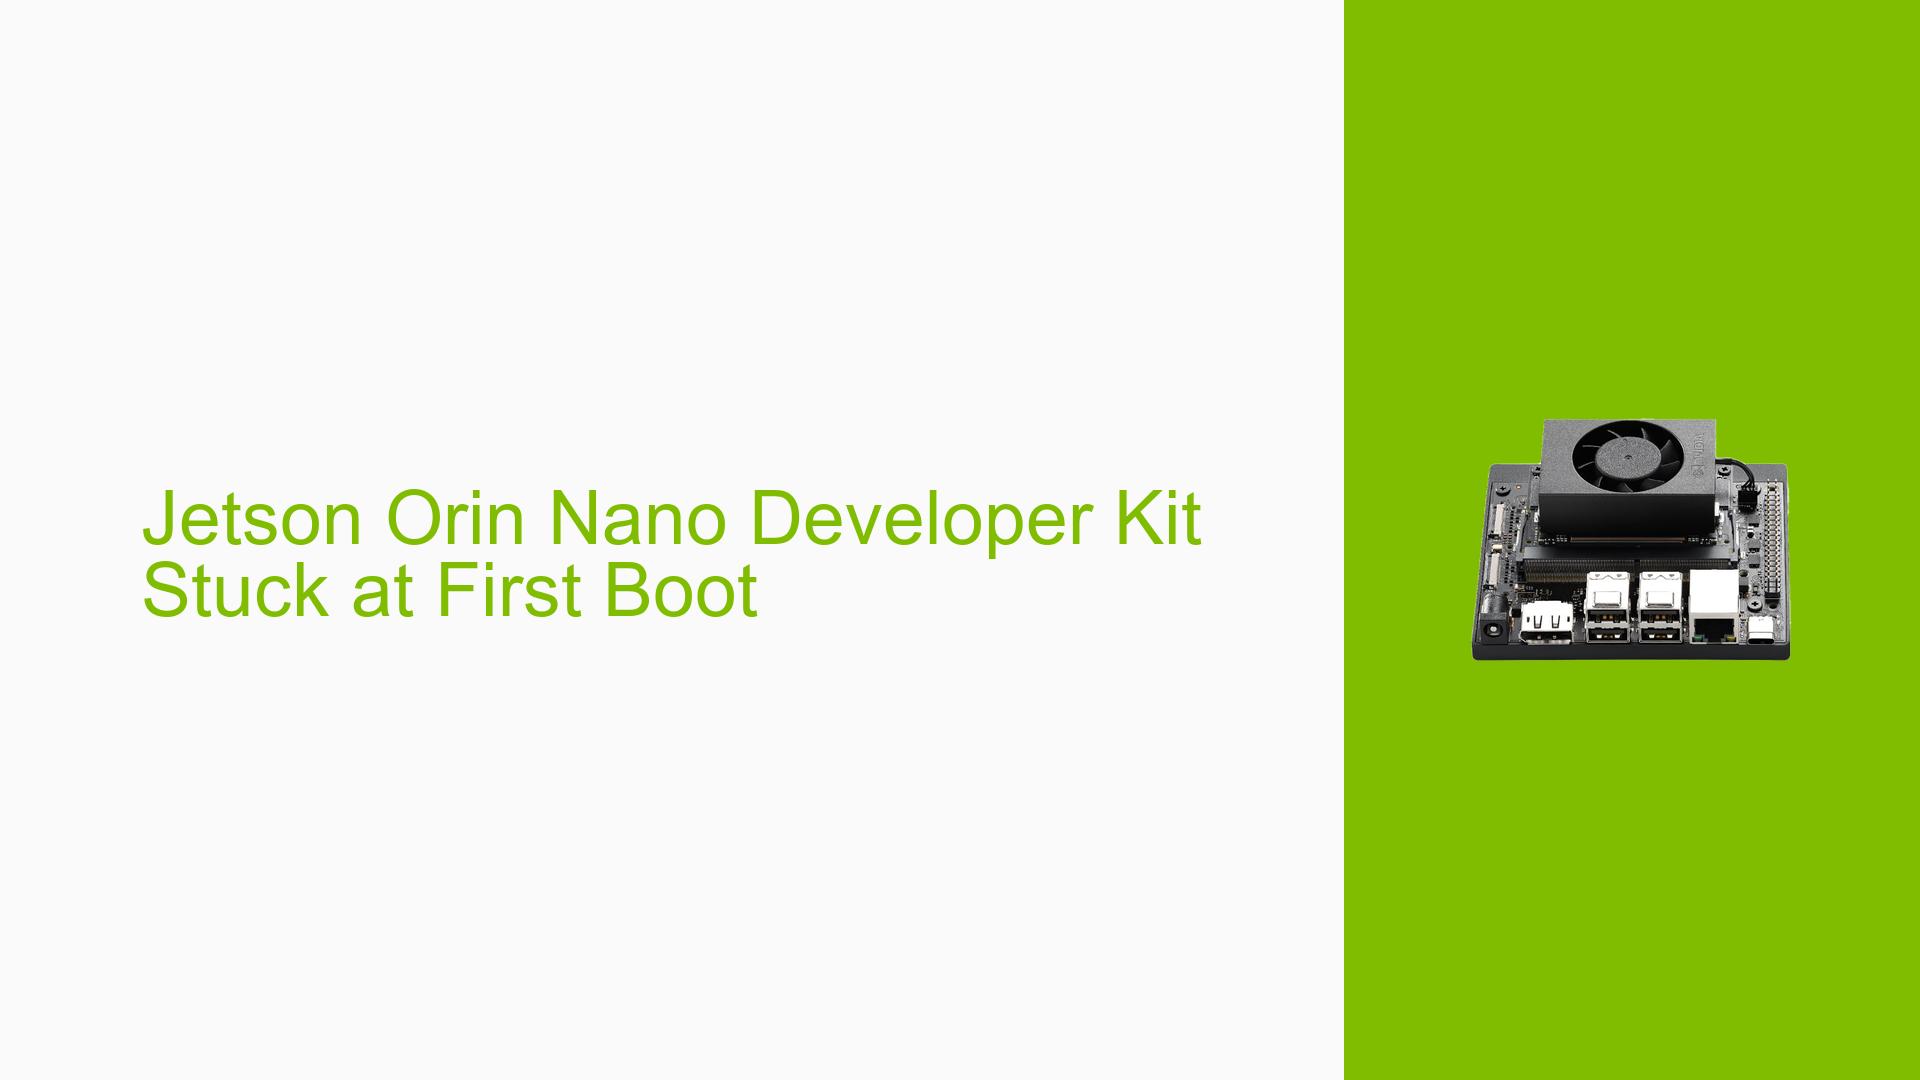
Jetson Orin Nano Developer Kit Stuck at First Boot
Issue Overview
Users are experiencing issues with the Jetson Orin Nano Developer Kit during the first boot process. The main symptoms include:
- The device boots to the Nvidia logo screen with options to enter boot manager
- It attempts direct launch but then shows a black screen
- The fan turns off while the LED remains on
- The device gets stuck, repeating the same lines in the serial console log
- In some cases, the system prompts for OEM configuration but fails to complete the process
This issue occurs during the initial setup of the Jetson Orin Nano Developer Kit, preventing users from accessing and using the device properly.
Possible Causes
-
Incomplete or corrupted SD card image: The flashed SD card may not contain all necessary components or could be corrupted during the flashing process.
-
Outdated or incompatible JetPack version: Using an incompatible or developer preview version of JetPack could lead to boot issues.
-
Incorrect boot device selection: The system may not be properly configured to boot from the SD card.
-
Missing OEM configuration: The system requires initial configuration, which may not be completing successfully.
-
Hardware issues: There could be potential problems with the SD card, power supply, or the Jetson Orin Nano module itself.
-
Incompatible or missing display: Some steps require a connected display to complete the setup process.
Troubleshooting Steps, Solutions & Fixes
-
Reflash the SD card:
- Download the latest stable JetPack version (preferably JetPack 5.x for beginners) from the NVIDIA Developer website.
- Use the NVIDIA SDK Manager to flash the SD card properly.
- Ensure you’re using a reliable, high-speed SD card (minimum 32GB UHS-1).
-
Use SDK Manager for flashing:
- Install NVIDIA SDK Manager on an Ubuntu host PC (Ubuntu 20.04 recommended for JetPack 5.x).
- Put the Jetson Orin Nano into recovery mode by connecting pins 9 and 10 of the Button Header while powering on.
- Use SDK Manager to flash the device, which will also update QSPI bootloaders.
-
Skip OEM configuration:
- If the device is stuck at OEM configuration, you can skip it by following these steps:
a. On your host PC, mount the SD card.
b. Edit the/etc/nv_boot_control.conffile on the SD card.
c. Change theCMDLINE_ADDline to:CMDLINE_ADD="console=ttyTCU0,115200n8 console=tty0 fbcon=map:0 net.ifnames=0 nv-auto-config=0"d. Save the file and safely eject the SD card.
e. Insert the SD card into the Jetson and boot.
- If the device is stuck at OEM configuration, you can skip it by following these steps:
-
Ensure proper display connection:
- Connect an HDMI display to complete the OEM configuration process.
- If using a serial console, note that some steps require a graphical interface.
-
Check and select the correct boot device:
- During boot, press Esc to enter the boot manager.
- Select the SD card as the boot device.
-
Verify hardware connections:
- Ensure the power supply is correctly connected and providing sufficient power.
- Check that the SD card is properly inserted.
- Verify all cable connections, including HDMI, Ethernet, and USB devices.
-
Update firmware if necessary:
- If you’re trying to use JetPack 6.x, ensure you’ve updated the QSPI bootloaders first by installing JetPack 6 using SDK Manager.
-
Use the correct JetPack version:
- For beginners, it’s recommended to start with JetPack 5.x as JetPack 6.x is still in developer preview and may have unexpected issues.
-
Check serial console output:
- Monitor the serial console output for specific error messages or hang points.
- Use this information to identify any particular components or processes causing issues.
If the issue persists after trying these solutions, consider reaching out to NVIDIA support or posting detailed information about your setup and the steps you’ve taken on the NVIDIA Developer Forums for further assistance.
